When the first Covid lockdown happened, the first thing I did was try to buy lots of flour. I’ve got four young children but my first instinct wasn’t to feed them – I was worried we were going to run out of playdough!
Playdough is the go-to material in the 100 Toys house when we want calm, purposeful fun and it helped to pass those long afternoons when going out was prohibited.
This is a long guide with lots of different recipes. But if you want to embrace the 100 Toys approach fully, then read no further. Just gather together the ingredients and experiment. What happens if I put in more flour? How does the consistency change if I add glycerin? How much salt is too much?
After all, why are you making playdough in the first place? To have fun, of course. But also to give your child an open-ended material that she can investigate and experiment with. So why not make the recipe part of the investigation? It’s more fun that way and you’re bound to make some new discoveries. Your child becomes more invested in the outcome and the learning is deeper. And perhaps she’ll have some ideas for next time.
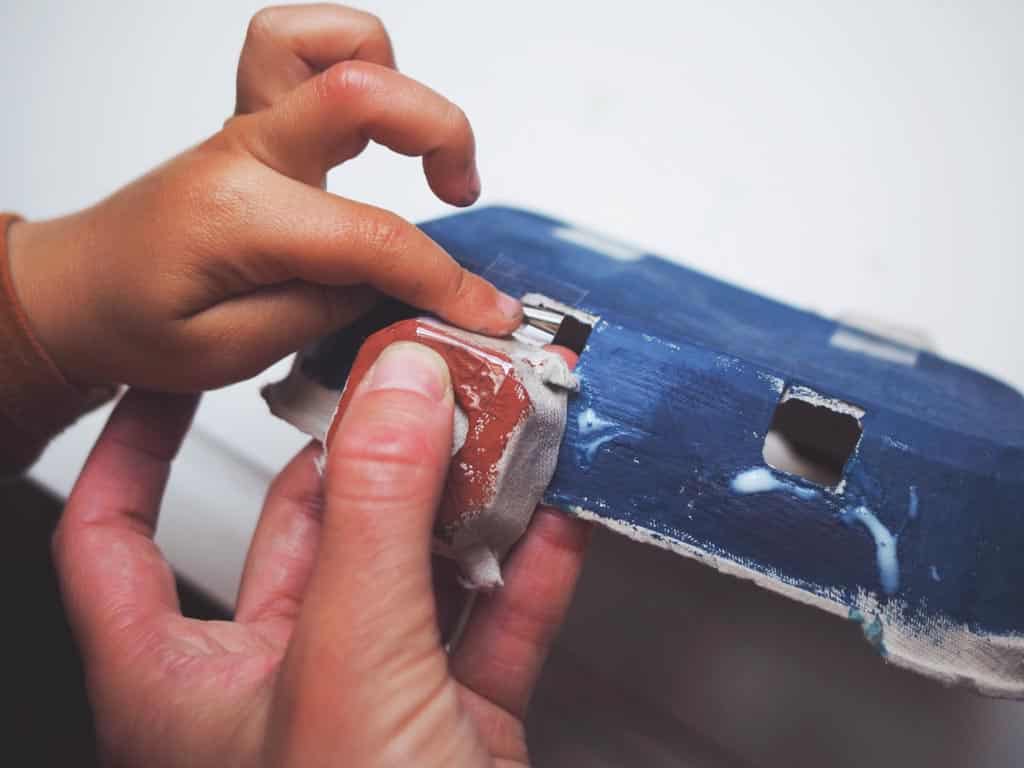
It’s also a brilliant fine-motor workout, helping preschoolers develop the strength to hold a pencil and older children to manipulate objects more precisely.
Start with bread
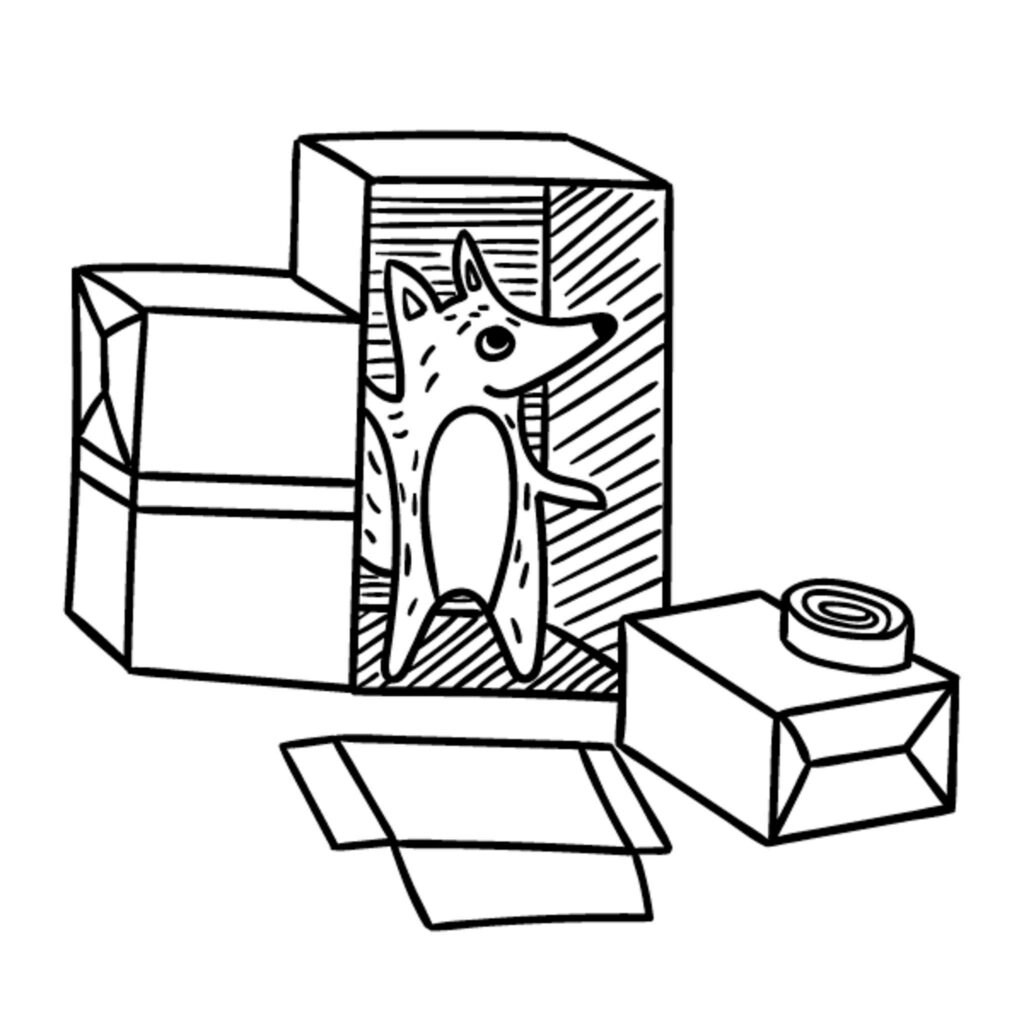
This is the best way to start – and you may never need to go any further. My childhood is full of memories of kneading dough with my grandmother. We’d shape it into buns and biscuits, make seasonal breads and add all kinds of seeds and spices. Being Greek, she’d reach for sesame seeds, green aniseed and nigella seeds. The smell was incredible.
I loved making figures and there was a ready supply of cloves to add eyes, noses and buttons. Into the oven it would go and a short while later I’d have my very own bread version of the gingerbread man. A toy and something to eat all in one!
There’s no great secret to playing with dough.
Roll it out. Use cutters. Make a ball between the palms of your hands.
Experiment. See how it changes as you add flour, water and oil.
Add yeast. Watch it rise.
Put it in the oven. Watch it rise again.
Get it out. Leave it to cool.
Feel it hot and fresh in your hands. Break it open and see the steam escape.
Smell it.
Put it to your lips. Kiss it.
Eat it.
When the experience is so interesting – and practical – why would you ever need to make playdough? The answer, of course, is so that you can store and re-use it. But don’t ever feel that you have to make the perfect dough every time. Much of the fun is in the process.
When you eat it, you add yet another layer to the learning. And you can judge your creation. What do you like about it? What would you do differently next time?
Bake it for a second time to make a kind of rusk. It will keep forever. You can even make it into decorations if you use salt dough.
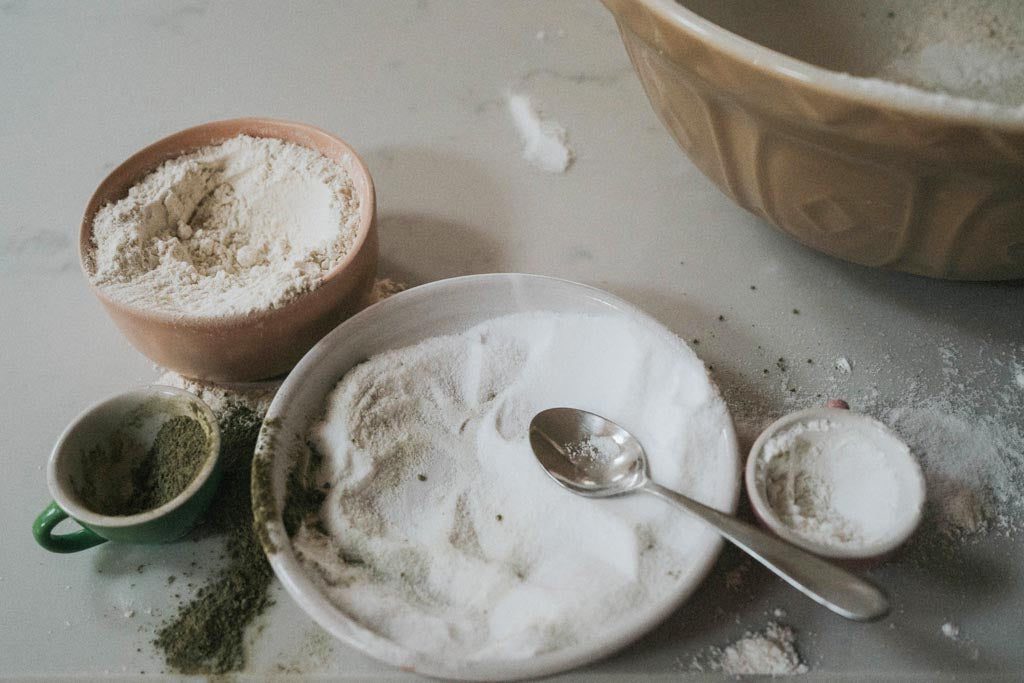
What ingredients do you need for playdough?
The most basic playdough recipe is just flour and water, or even flour and oil. There are even ways to make it with conditioner (!) and cornstarch but it then becomes dangerous for the under 3s to use in case they eat it.
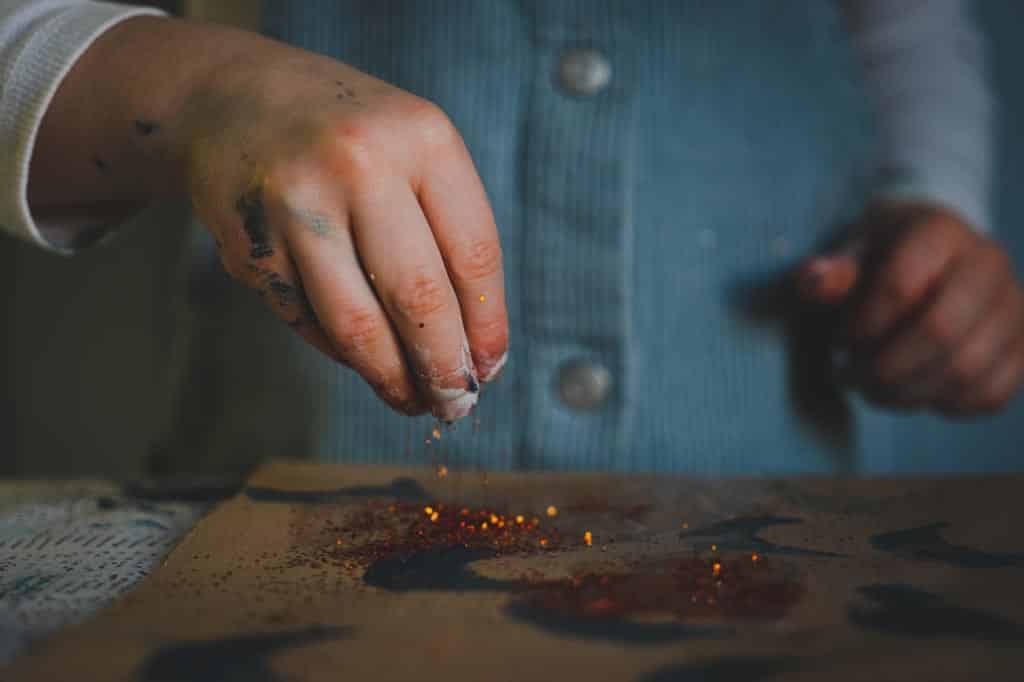
Salt
This stops the yeasts in the air from fermenting the dough and making it rise. Without salt your playdough will become a bubbly, pungent sourdough starter – a lovely thing in itself, but a project for another day. Adding salt makes your dough keep. As long as you store it in an airtight container it will last for days or even weeks.
Cream of tartar
Cream of tartar makes the dough light, in the way that adding yeast would. But it has the advantage of not turning your dough into a sourdough starter. It’s not strictly necessary, but a lighter, less dense dough is easier for children to manipulate so it’s nice to add if you can find some in your baking cupboard.
Further benefits of using cream of tartar:
- It makes the dough more elastic, making it smoother and more pliable. It also results in a dough that is smoother and less sticky so it’s easier to handle – and to clear up.
- When combined with food colouring, cream of tartar will give you more vibrant and consistent colours.
- It acts as a preservative, allowing the play dough to last longer. This means that your child can use the same batch of play dough multiple times, making it a cost-effective play option.
Making play dough without cream of tartar
Cream of tartar is a white leavening powder that many keen bakers will have in their store cupboard. But if you don’t have cream of tartar don’t panic, there is no need to buy any. You can substitute the cream of tartar with lemon juice or white vinegar. For every 1/2 teaspoon of cream of tartar in the recipe, use 1 teaspoon lemon juice or white vinegar.
Glycerine
Glycerine is an optional extra and gives the dough a nice sheen.
Oil
Adding oil to the dough makes it less sticky. It’s no fun if the dough won’t separate from the biscuit cutters and sticks to your fingers and the rolling pin.
Quantities
I give quantities in the basic recipe below but I urge you to treat this as one big experiment. See what happens when you use too much oil or too little. You may like it, you may not. But you will have learnt something. It’s also the case that the temperature and humidity of the of the room and the way the flour has been stored can affect how much water is needed. And different flours absorb water at different rates. Are you using white, ’00’, gluten-free or wholemeal? Learn to trust your judgement. If the dough doesn’t look right, it probably isn’t. Make a small adjustment – more water, more oil – and see if you can correct it.
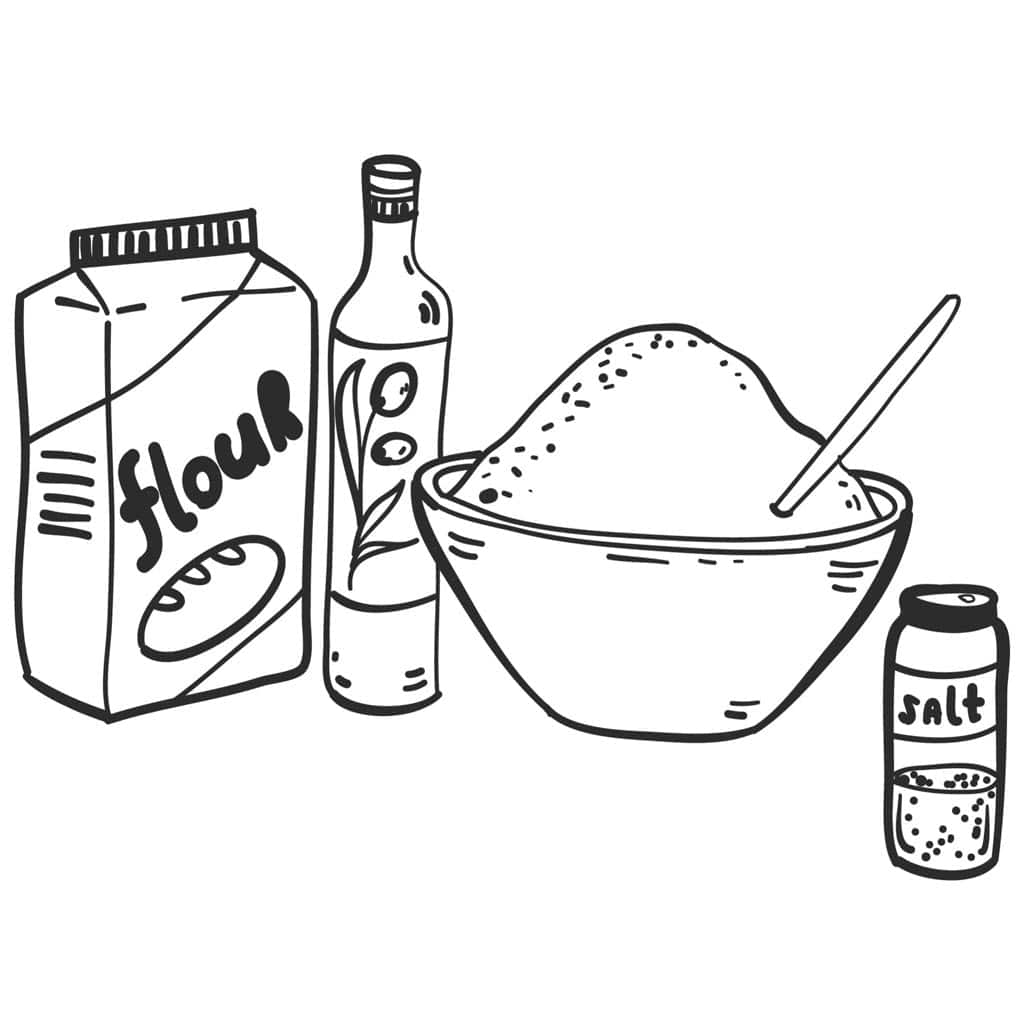
Basic playdough recipe
You will need:
- 2 cups flour
- 1 cup salt
- 2 cups water
- 2 tablespoons cooking oil
- 2 teaspoons cream of tartar
- 1 teaspoon food colouring (optional)
Place all the ingredients in a pan and cook over a gentle heat, stirring all the time. You’ll know it’s ready hen the dough mixture ‘comes away’ from the side of the pan. Turn the mixture out onto a board and kneed well to remove any lumps. Allow to cool and keep in an airtight container in the fridge.
What’s the smell of Play-Doh?
Have you ever wondered what that smell of play-dough was? Have you ever tried to recreate it when making your homemade version? Well, now we know, because the manufacturer, Hasbro, has trademarked it. In their words, it’s “a unique scent formed through the combination of a sweet, slightly musky, vanilla-like fragrance, with slight overtones of cherry, and the natural smell of a salted, wheat-based dough”.
Once you’ve found a playdough recipe you’re happy with, you could spend a few happy hours trying to mimic the smell. Or perhaps come up with something entirely new of your own.

What’s the difference between cooked and no-cook playdough?
You can make playdough with cold water but if you want it to have that lovely, familiar doughy texture you’ll have to use hot. The quick way is to use boiling water. This is called the no-cook method and the results are pretty good. It’s not quite as stretchy as cooking the ingredients in a pan but it’s a great everyday alternative.
A no-cook playdough recipe
You will need:
- 2 cups flour
- 1 cup salt
- 2 cups boiling water
- 2 tablespoons cooking oil
- 2 teaspoons cream of tartar
- 1 teaspoon food colouring (optional)
How to restore dried playdough
One of the most frustrating things about DIY playdough is that after you’ve played with it, if you forget to seal it in an airtight container it will turn hard and crumbly. But don’t worry – all is not lost! Follow these simple steps to make it soft again.
- Break the playdough into small pieces.
- Put it into a resealable food bag.
- Add a few drops of water.
- Leave to stand in the fridge overnight.
- Remove from the fridge and squish the now-softened dough together
Hey, presto! It’s time to get back to play.
Are you ready for school?
Do you have a preschooler? Would you like them to develop some key skills before starting school? How wonderful to go into school on that first day feeling like you belong.
Get Set Five is a year-long course full of fun and free activities to do with your child.
Readers’ recipes
Here are some recipes sent in by 100 Toys readers.
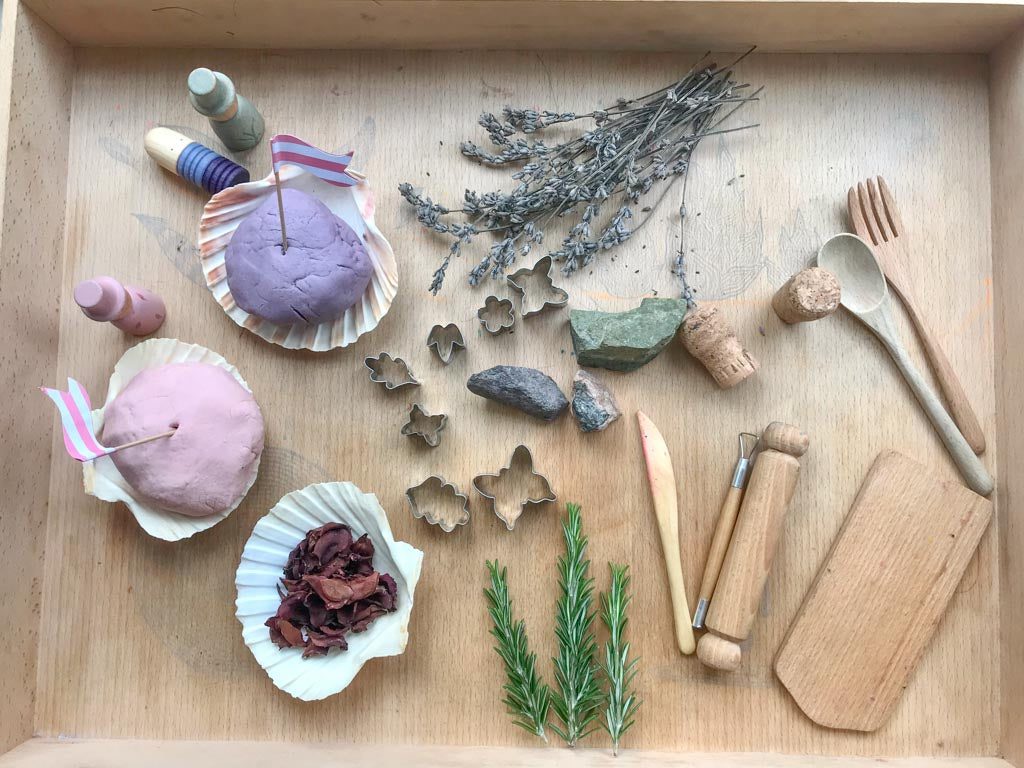
Rose and lavender-scented playdough
I make flower based play dough for my daughter – basic recipe split into two – one I add a drop of purple food colouring and lavender oil and the second I dye pale pink and add rose essence. I lay it on a tray with dried petals – roses can be dried in a microwave in a few seconds and dried lavender- so it almost looks like an apothecary table – all in different bowls for mixing etc.
All the cutters, texture makers, grapat and her ‘fairies’ come out then – loses the aesthetic somewhat but it’s very pretty to begin with which my daughter loves.
Sarah Lloyd-Wood

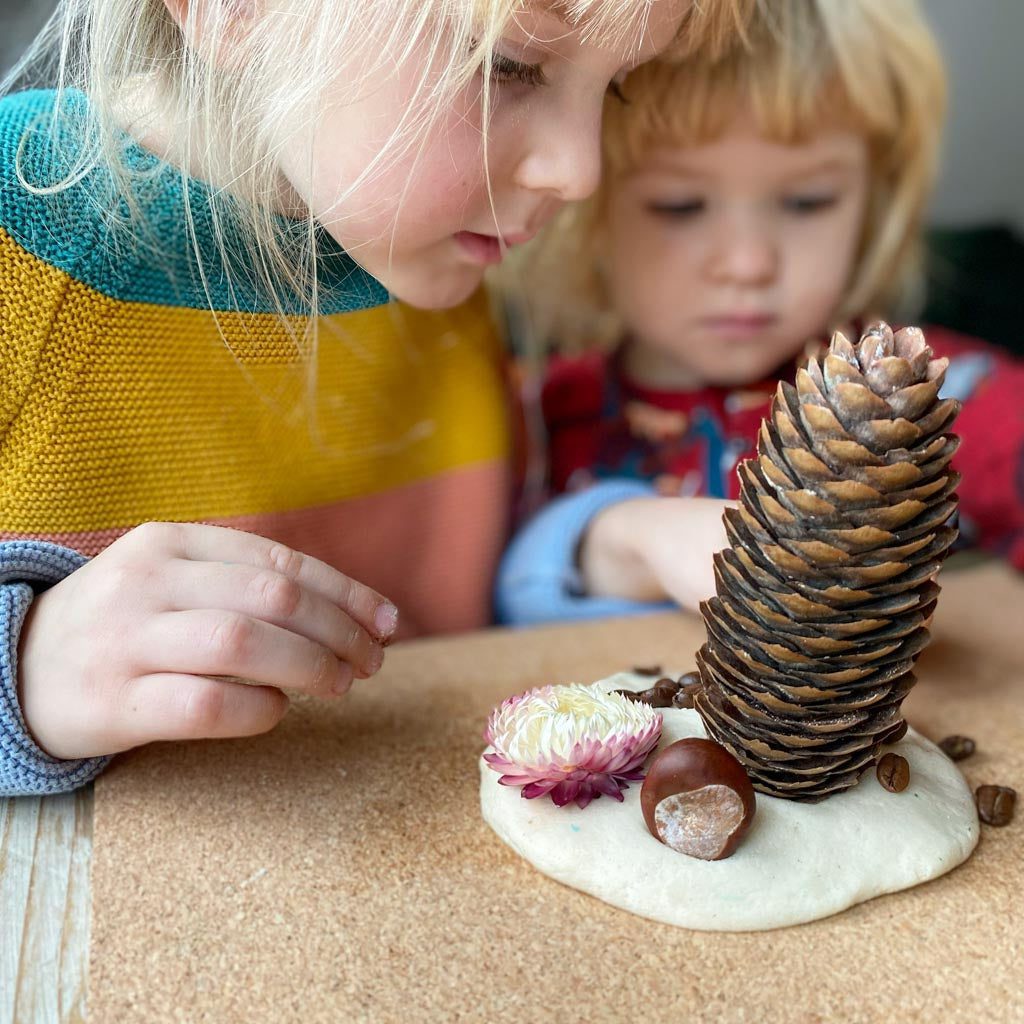
Making patterns with stamps, rollers and natural materials
We use pine cones, shells, dried pasta, leaves, conkers etc to make patterns in the dough and talk about what type of shapes and marks they make. We recently bought the Yellow Door Sensory Stones, which have been a real success. They felt like a bit of an investment, but they have had loads of use already and I like how they make raised patterns as well as indented ones. My daughter loves feelings the patterns they make in the dough, as well as the feel of the stones themselves! They are also good to use with paint too.
Emma Sinclair
What’s the difference between playdough and salt dough?
Salt dough is made from just flour, water and salt. It’s less elastic than playdough and dries hard (especially if baked). You can then paint and varnish it and it will keep forever.
Schleich animals
We have a set of farmyard and safari Schleich animals which are played with almost daily. Because they are so life-like, they make great footprints in the playdough which my daughter loves. She likes seeing and talking about the different footprints the various animals make. We also play ‘Guess the animal’ using the dough footprints as a clue.
Small world
I’ve made green playdough for farmyard small worlds and blue for sea themes. We have a set of small plastic ocean creatures and she loves pressing those into the dough to see the shapes they make. The flat ones – crab, octopus, skate etc work particularly well.
Birthday cakes
Lots of fun with silicone muffin cases, muffin tray, playdough and candles. We also use dried pasta to decorate the ‘cakes’. This is a much loved activity in the lead up to her birthday! We also have some star shaped cookie cutters that get used a lot when making cakes!
Emma Sinclair
Loose parts
Playdough and a tray of pasta shapes, cookie cutters, rainbow craft sticks, paper straws, shells – anything really that she can stick into the dough!
Emma Sinclair
Final word
If you’ve got a favourite playdough recipe wasn’t covered in this post, please describe it in the comments below and I’ll add it to the article.