Salt dough is play dough’s permanent cousin. Take out the oil, add some salt, shape and bake it. It’s that simple! In no time at all you have ornaments and decorations to paint and display.
Easy salt dough recipe
You will need:
- 500ml plain flour
- 250 ml fine salt
- 250 ml warm water
It’s important to use plain flour as self-raising will puff up in the oven and creations will lose their shape.

To make the dough:
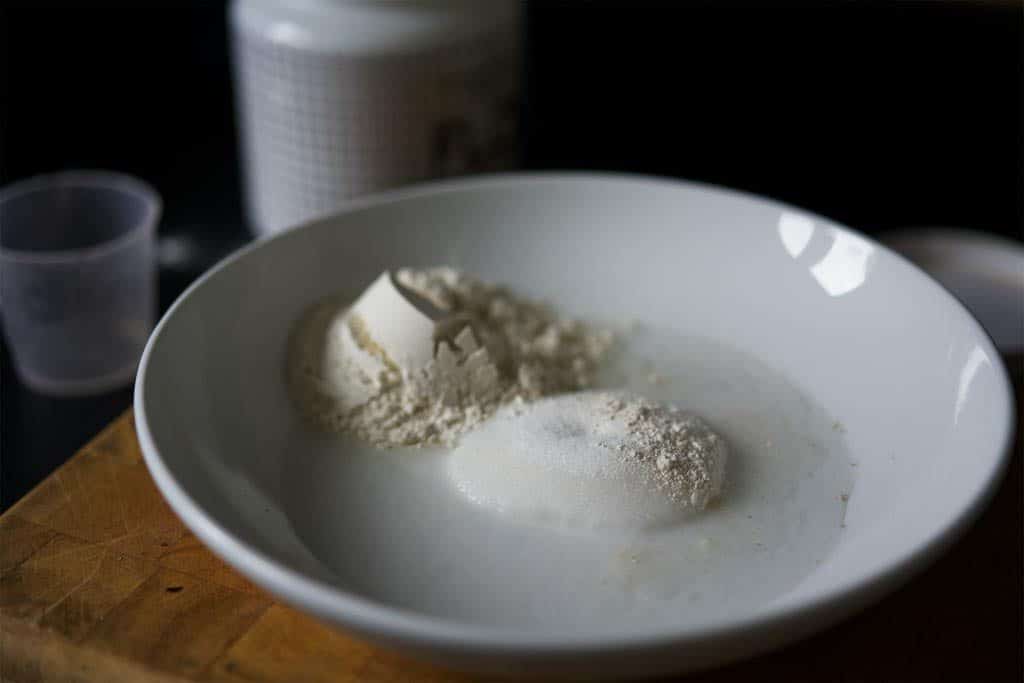
- Combine the flour and salt in a bowl and stir.
- Add water slowly until it has all been absorbed and knead the dough until well-combined. Adjust the amount of water or flour, as necessary, to get a dry, malleable texture.
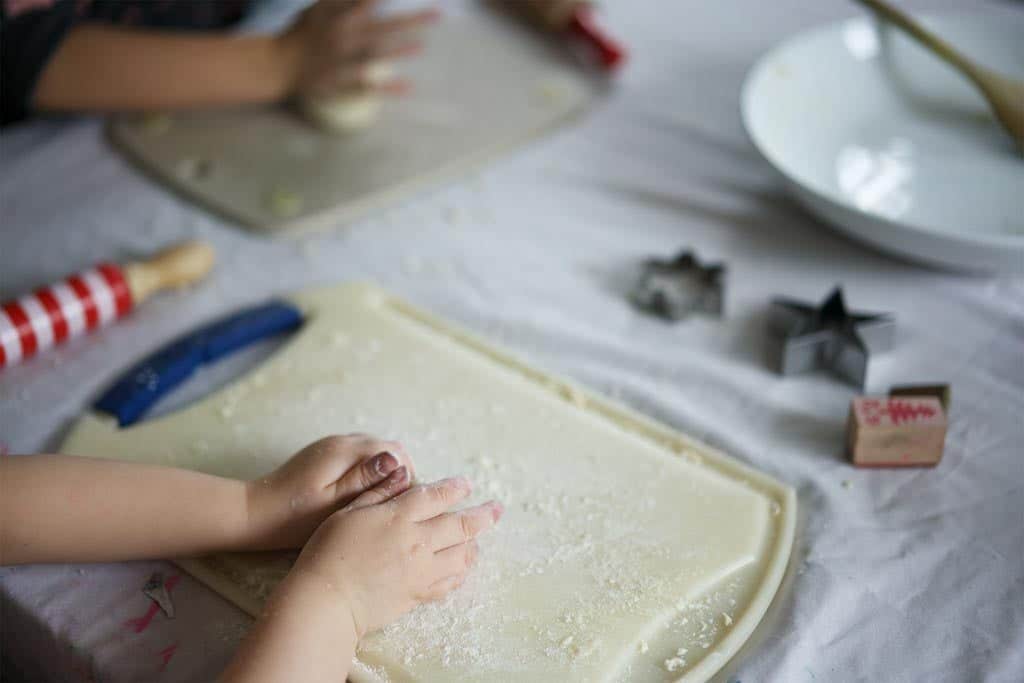
- Roll the dough out on a floured surface. 1 cm thick is about right if you plan to use biscuit cutters. Any thinner and it might snap.
- Leave the pieces to rest for half an hour before putting them in the oven. Baking too soon can lead to cracking.
- Bake at 100°C (212°F) for at least two hours. If you’re in a hurry, you can turn it up to over 200º (392ºF) – just watch out in case it burns! At higher temperatures, it may brown but this isn’t a problem if you intend to paint it afterwards. The key to a smooth finish is a long, low bake.
- You can tell that it’s done because the dough is completely hard.
- Allow to cool completely.
Note: salt dough is not safe to eat.
Why salt? Can’t I just use playdough?
Anything you can make from playdough you can also make with salt dough. But it has the added advantage of drying hard. This means you can create shapes that would collapse if made from play dough, such as arches and bowls. You can also pierce it and thread it with ribbon, making it easy to make your own decorations – especially useful at Christmas.
Homemade playdough will rise in the oven. Adding a pinch of salt to bread dough is good because it slows down the rise and improves the texture, but too much will kill the yeast.
For our purposes, lots of salt is a good thing. We don’t want the dough to rise. We want it to come out of the oven the same way it went in. Salt dough decorations aren’t very attractive when they are puffed up and spongey. All that lovely detail you added will have disappeared.
The high salt content means your salt will also keep for longer, if you decide not to use it straight away. When I first started making DIY playdough, I would store it in a tupperware box and return the next day to find it sweating and bubbling away, a slimy mass that looked very much like a fermenting sourdough starter (which, of course, is what it was). The naturally occurring yeasts in the air had got to work and it was rising all by itself. The solution was to add enough salt to kill the yeast.
No-cook salt dough recipe
You can air-dry your dough. You don’t have to put it in the oven. Simply leave it on a shelf to dry out. As long as you have used enough salt, it won’t rise. The only drawback with this method is that the finished piece won’t be as hard. Make sure to glaze or varnish it for added strength.
A fine motor workout
Creating a beautiful object that can be displayed and treasured is nice. But all the benefits of this kind of play come from manipulating the materials, making a plan and executing it. Good pencil grip is a happy byproduct.
Colouring the dough
You can mix food dye into the dough for some quick and easy colour but to decorate it in fine detail it’s better to use paint once the dough has finished. Remember that if you use coloured dough and then paint over the top, the base colour will show through. Better to use plain, uncoloured dough if you plan to paint.
Once your dough has cooled, you can decorate it with poster paint. For a tougher and glossier finish, mix the paint with PVA.
What’s the best way to glaze salt dough?
PVA glue dries clear making it perfect for children’s crafts.
Salt dough is hard but it’s also brittle. Edges can flake off and – if you’re unlucky – the piece can snap. A quick coat of PVA adds a clear, protective layer.
To avoid that milky look where the PVA has pooled in cracks and indentations, and to make glazing easier, thin it with water.
You can also use varnish, of course, but not all types are suitable for use by children. Read the label.
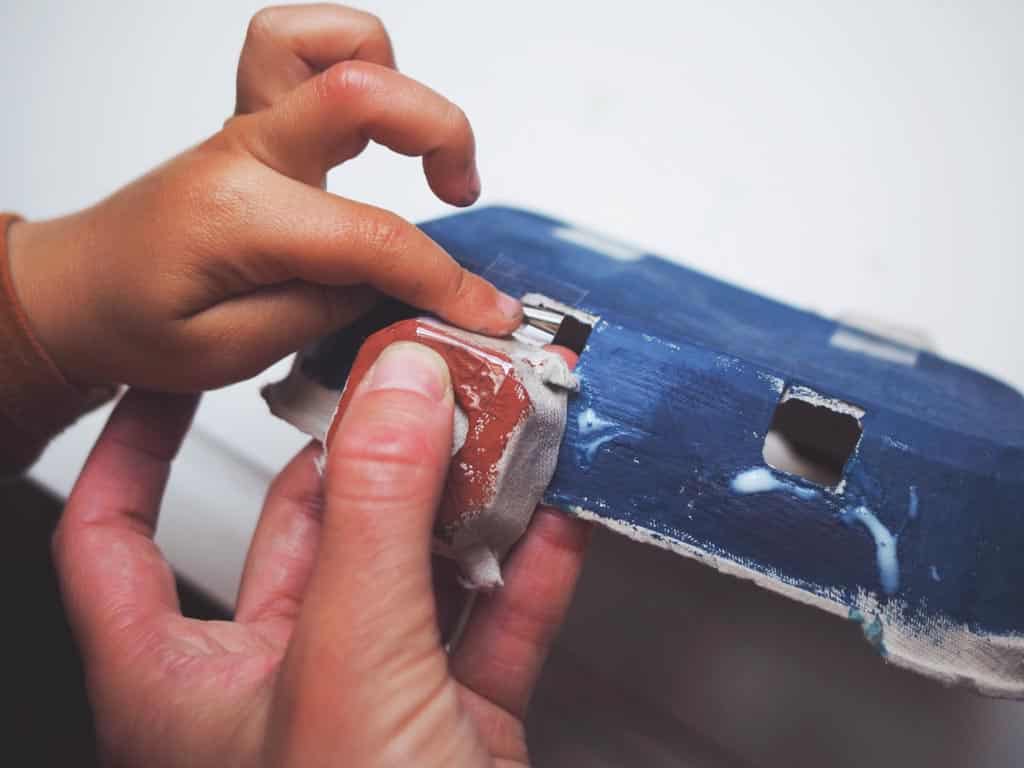
Painting in three dimensions
Do you remember the frustration of trying to paint a 3-dimensional object? You ran out of dry bits to hold. Even using just the tips of your forefinger and thumb, you got covered in paint and left fingerprint smudges all over your work.
It was so frustrating!
Your child will make the same mistake. And it’s right that you let her.
Allow her to discover that if she paints all of her creation at once, she won’t be able to put it down without it sticking to the table.
Salt dough ideas
As ever at 100 Toys, we are not aiming for perfection. Salt dough is a means to an end. You know by now that Pinterest-friendly activities are my bête noire. Those beautiful creations were not the child’s idea – and she certainly didn’t make them independently!
Much better to give your child the materials and encourage her to make her own discoveries.
Having said that, there’s nothing wrong with showing her a few examples of what’s possible for inspiration but try to avoid being too prescriptive.
Salt dough food
Perhaps unsurprisingly, salt dough makes great play food. Try rolls, pretzels or croissants. Or roll a sausage of dough and cut into discs and decorate as biscuits.
Salt dough cupcakes
Put the dough into cupcake cases. Bake in a cupcake tray. Once cooled, paint the ‘buttercream’ topping with a mix of paint and PVA. Add sprinkles while the glue is still wet and once dry cover with another layer of PVA, which will dry clear, glazing your dough.
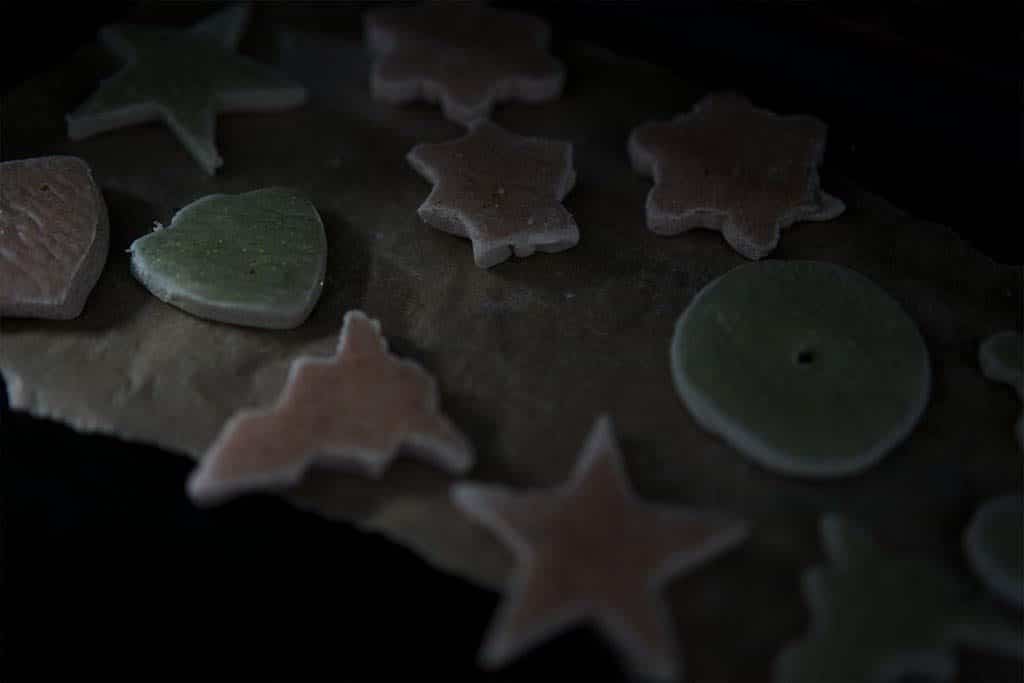
Ornaments
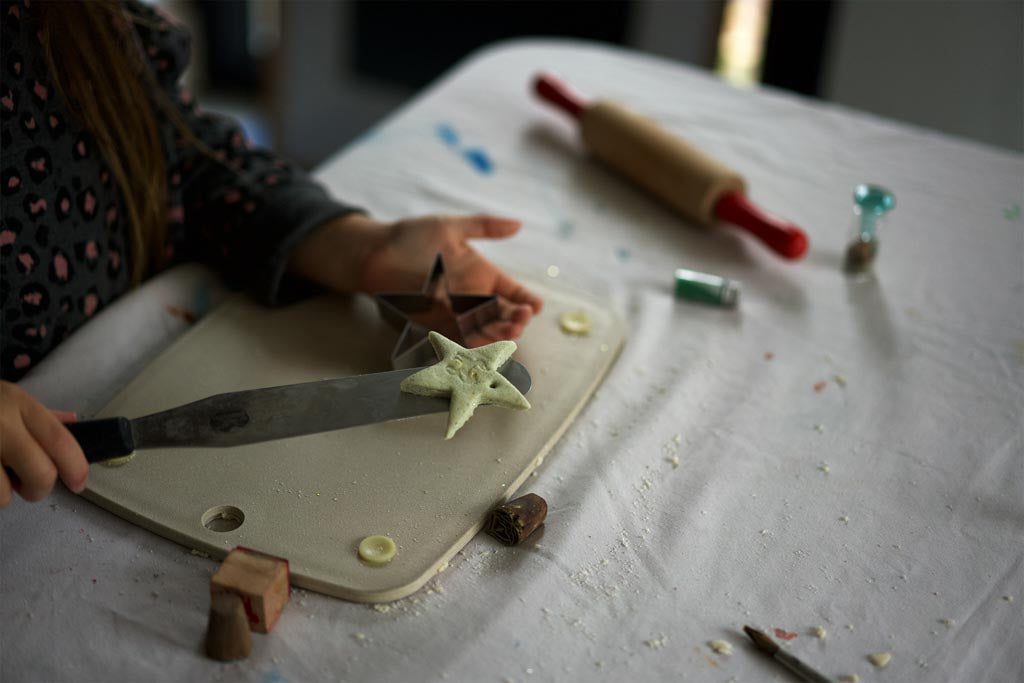
At Christmas, you can make beautiful decorations in minutes with a set of biscuit cutters
Before(!) baking your ornaments, push a hole through them using a pencil, wide enough to thread through ribbon or string once it is finished.

Beads for threading
Roll balls and cylinders of dough and push a pencil through them, making a good-sized hole (it will close up a little when baked). Paint and glaze once cooled and then enjoy endless hours of threading fun.
Now you have the knack, what other shapes could you make?
Salt dough animals and figures
Make them strong and simple by rolling them flat, like gingerbread men, or work in three dimensions but make sure to keep the limbs short enough to not collapse.

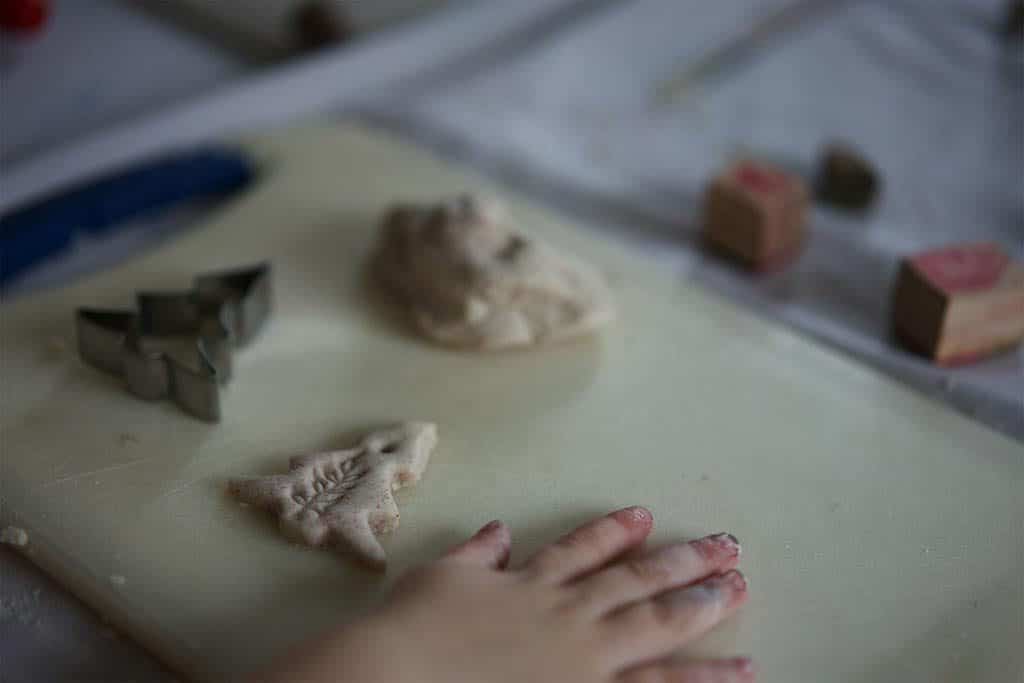
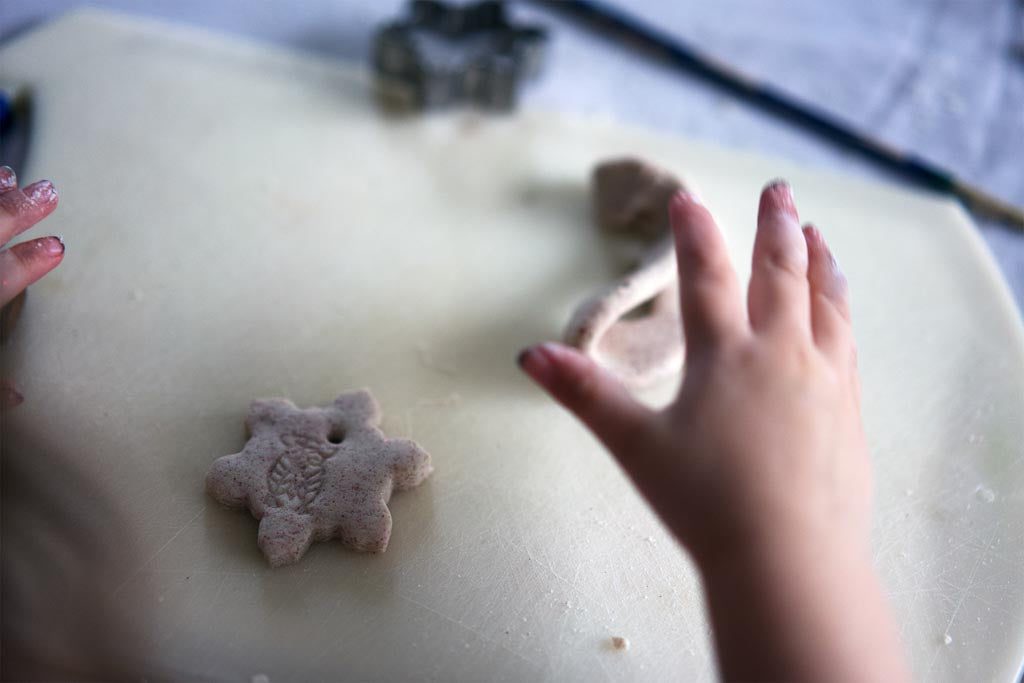
Stamps and printing
Roll the dough flat and experiment with marks. Use stamps, mark-making tools and natural materials. What kinds of impressions can you make? How will you paint them?
Using a microwave
I don’t have a microwave so I haven’t tested this method but the trick, apparently, is to cook the dough at maximum power for 10 seconds at a time. Take it out and check before giving it another blast.
Final word
Salt dough is versatile and fun. And it’s an easy way to display and celebrate your child’s work.
Are you ready for school?
Do you have a preschooler? Would you like them to develop some key skills before starting school? How wonderful to go into school on that first day feeling like you belong.
Get Set Five is a year-long course full of fun and free activities to do with your child.