It’s a little embarrassing to admit, but Week 27 | Scissor Skills is one of my favourite Get Set Five modules. It’s a bit nerdy, and probably goes into more detail than is strictly necessary, but it also gets to the heart of something important:
Why do preschool teachers offer so many opportunities for cutting and sticking?
What do they know that we don’t?
Google ‘benefits of scissor skills’ and you’ll be bombarded with my bête noire:
Promotes fine motor development.
What does that even mean? It’s on the side of almost every toy box. But watch a child trying to cut a piece of paper and the phrase becomes much more interesting. One hand has to open and close the scissors while the other holds the paper steady. Later, that helping hand has to turn the paper, too. Two hands, doing different jobs, working towards the same goal.
Scissor skills are the grip, opening-and-closing action and two-handed co-ordination children use to cut. The finished shape is only part of the story. A few snips around the edge of a sheet can be worthwhile practice, even when there is nothing to hang on the wall.
Find a starting point: first snips · lines, curves and corners · when cutting is tricky · before scissors.
Today’s activity: make the first snip easier
Get out the scissors. Sit together at a table, with your child comfortably supported and her feet resting on the floor or a footrest. Choose child-sized, rounded-tip scissors suited to her hand and the material. Use left-handed scissors if she cuts with her left hand.
Stay beside her while she cuts, keep fingers clear of the blades and put scissors away afterwards. Collect the small cuttings, especially where younger children may put them in their mouths.
Start with a short roll of playdough. It rests on the table rather than flopping about like paper, so your child can concentrate on opening and closing the scissors. Then offer a narrow strip of thin card that she can cut through with one snip.
Even the act of opening the scissors after the jaws have closed is a real achievement. Take your time.
From snips to lines, curves and corners
Choose the next challenge from what your child can manage now. These are possibilities to explore, not a timetable or a test.
- One snip. Offer a narrow strip of thin card. A single cut separates a piece, so there is no need to keep feeding a whole sheet through the blades.
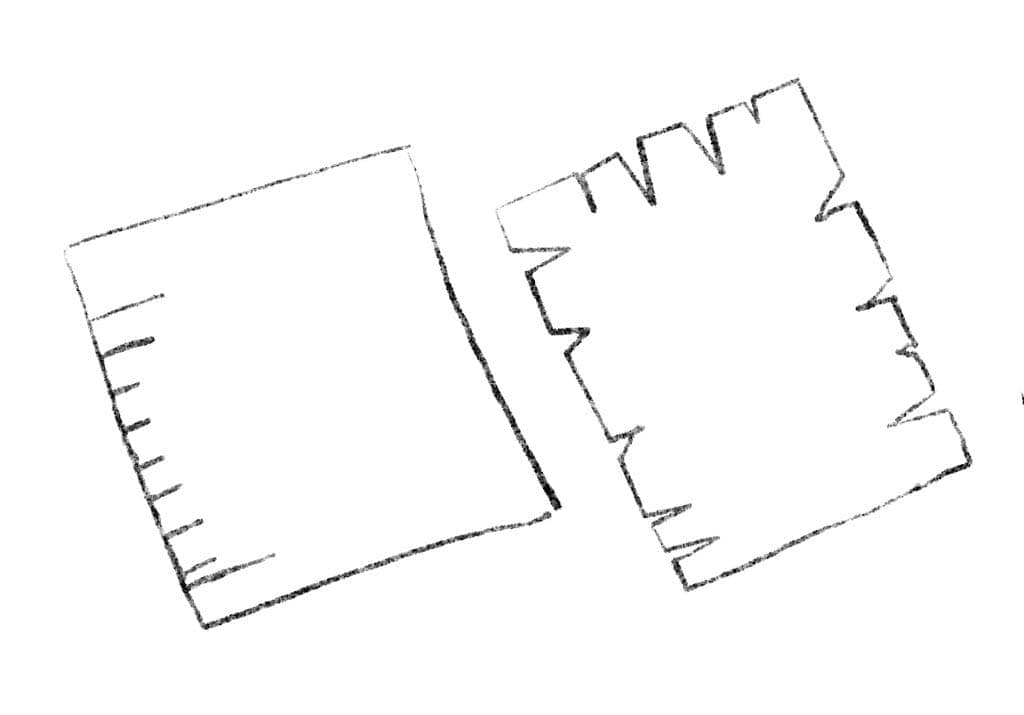
- A fringe. Make snips along one edge of a small piece of paper. The cuts can be different lengths. Your child might decide it is grass, hair or simply a satisfying row of cuts.
- Several cuts in a row. When one snip feels comfortable, try a short, broad line. Opening the blades and moving forward without trapping the paper is the new challenge.
- A curve or corner. Later, try a broad curve or a simple shape. Watch the helping hand: can it turn the paper while the scissor hand continues cutting? If this becomes frustrating, return to an easier cut.
Don’t begin by asking for a perfect circle. Let your child explore what the scissors can do. A pile of small pieces can become a collage; it can also be the end of today’s investigation.
What to notice when cutting is tricky
Before adding more practice, look at the part that is getting in the way. Is she struggling to reopen the scissors? Is the paper folding between the blades? Is she trying to hold everything with one hand?
- If the paper flops: offer a smaller piece or thin card instead of a large sheet.
- If the grip is awkward: demonstrate with your own scissors and offer a simple “thumb on top” reminder. Check that the scissors fit and work for the hand she is using.
- If reopening is the obstacle: spring-opening scissors may make that part easier. If difficulties persist, ask your child’s teacher or an occupational therapist about suitable equipment.
- If the line takes over: take it away for now. A few successful snips may be more useful than a shape that needs constant adult correction.
There is more guidance on positioning, equipment and using both hands in Cwm Taf Morgannwg’s scissor-skills advice. Betsi Cadwaladr’s occupational-therapy guidance also explains adaptations and why children develop the skill at different ages.
Give the cutting a purpose
My big tip is to bring a small craft tray to the kitchen table when you can sit alongside your child. Scissors, pencils, glue and paper are plenty to begin with. Put the scissors away when you finish; the tray is an invitation to make together, not a reason to leave cutting tools within reach.
When I wrote the original article, we had visited the Small is Beautiful exhibition and the children had been busily making paper houses and furniture all week. Cutting and sticking, cutting and sticking. My eldest isn’t known for his love of crafting but he was engrossed for hours at a time.
Ultimately, this is the trick. Offer simple materials but lots of inspiration.
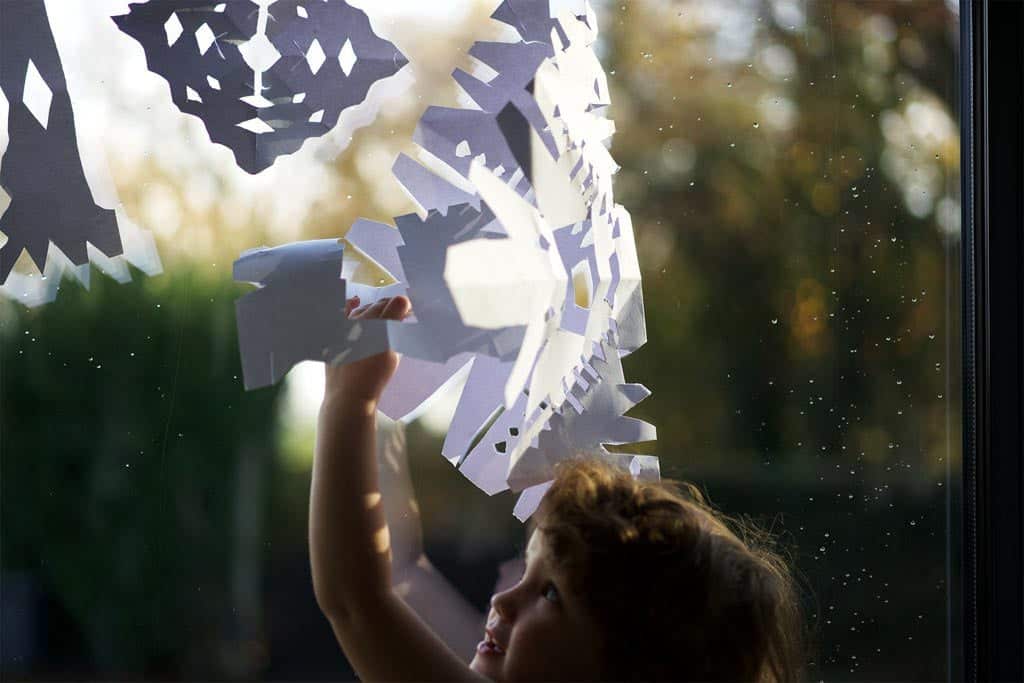
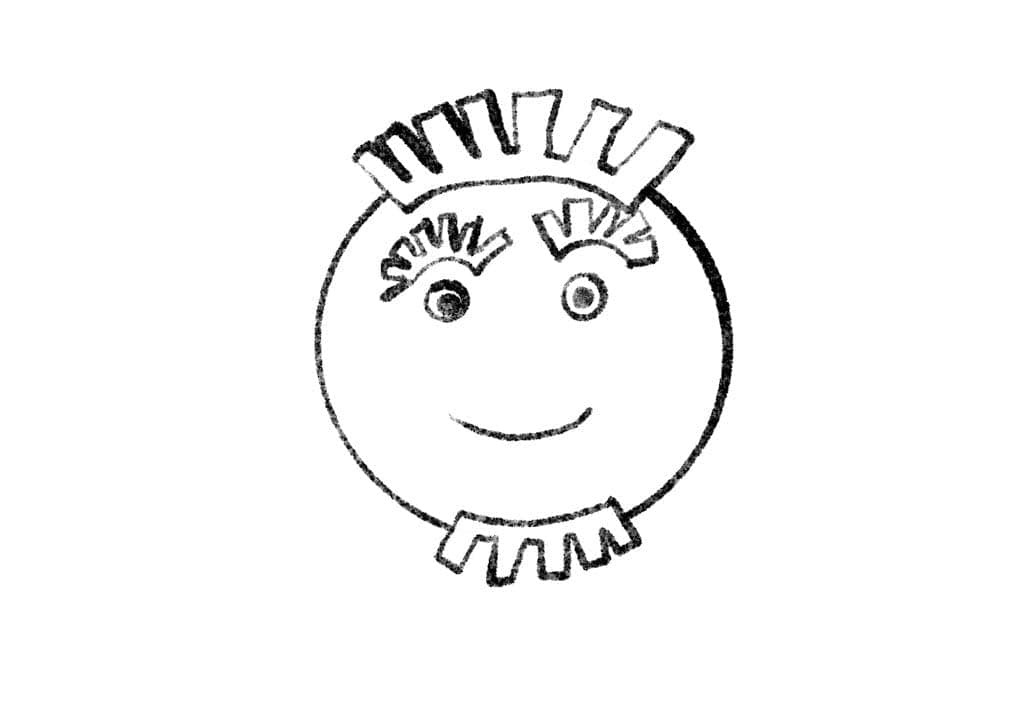
A fringe might become hair for a paper face. A few strips might become a short paper chain. Follow the idea that interests your child, rather than choosing the craft with the neatest finished picture.
What if my child is under three, or not ready for scissors?
You can explore the movements without introducing cutting yet. Tear paper into strips for a collage, squeeze and roll playdough, or offer a clean spray bottle filled with water for outdoor play. Choose materials and equipment suited to your child, and stay nearby.
Watch the actions: pulling paper apart, squeezing, releasing and using one hand to steady something while the other works. There is no need to make a younger child practise a cutting task she cannot yet manage.
What does cutting have to do with writing?
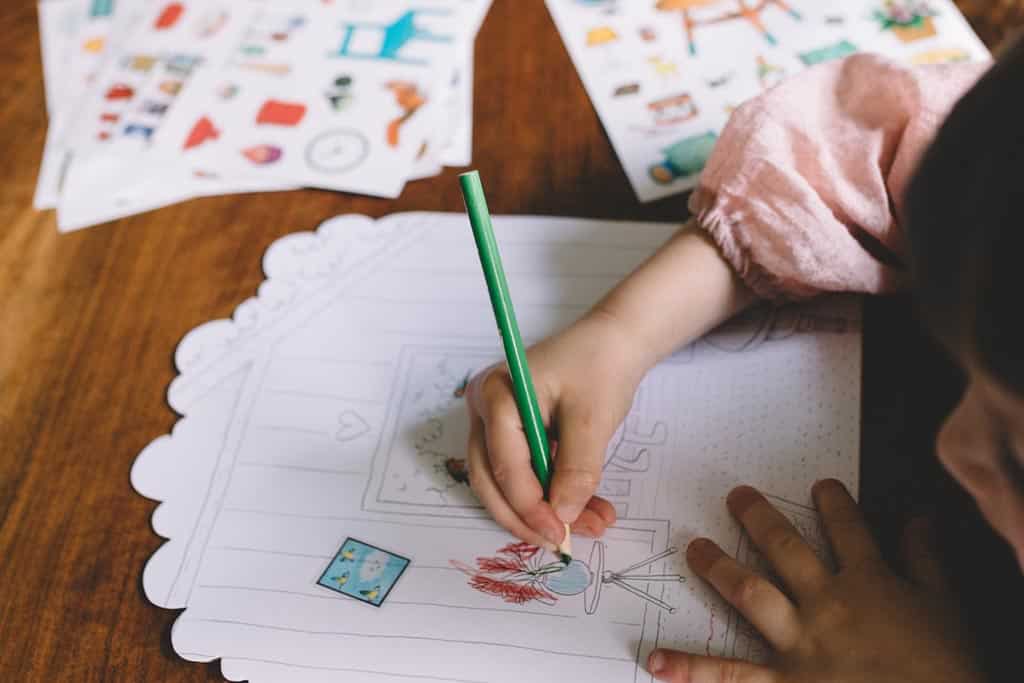
Watch the two hands again. When drawing, one hand moves the crayon while the other steadies the paper. Cutting gives your child another reason to practise hands working together, alongside the finger movements involved in handling a tool. This is bilateral co-ordination in an everyday activity.
It does not mean that cutting out more shapes guarantees better handwriting. Keep the experiences varied: draw, build, model and cut. For more ideas, explore learning to write through play.
Would you like more ideas for following your preschooler’s interests? Start with our free Guide to Preschoolers. You’ll sign up for our emails when you request the guide. For a deeper look at play and the foundations for school, explore Get Set Five.
So get the scissors out when you can sit together. Have fun, lower your expectations and see where your child goes with the freedom to explore the materials.